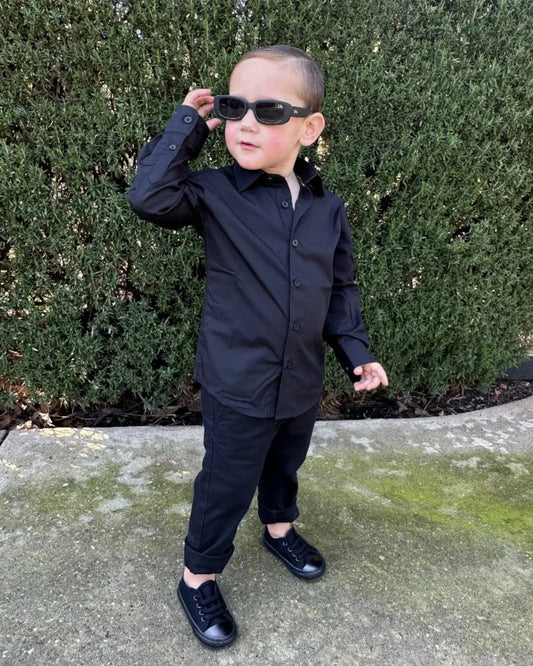
How to Tie a Tie for Kids – Easy Step-by-Step Guide for Parents and Children
Introduction: Teaching Kids to Tie a Tie Can Be Fun!
Whether your child is getting ready for a wedding, school photos, or a special family event, knowing how to tie a tie is a skill they’ll use for years. For parents, teaching it can feel tricky — especially if your little one is wearing a smaller, children’s tie. That’s why we’ve created this easy, parent-and-kid-friendly step-by-step guide that’s quick to follow and stress-free.
By the end of this blog, your child will know exactly how to tie a tie — and you’ll have shared a little life skill they’ll remember forever.
Why Learn to Tie a Tie Early?
- Confidence booster – Your child will feel grown-up and prepared for any formal event.
- Life skill – They’ll use it for school, sports presentations, dances, job interviews, and more.
- Bonding time – It’s a small activity that creates a lasting memory between parent and child.
The Best Knot for Kids: The Four-in-Hand Knot
For children, the Four-in-Hand Knot is the easiest and most comfortable. It’s neat, works with any shirt collar, and is less bulky than other knots — perfect for smaller necks.
Step-by-Step: How to Tie a Tie for Kids (Four-in-Hand Knot)

Tip: Practice in front of a mirror together. Have your child hold the tie while you guide their hands.
Step 1: Start with the Tie Around the Neck
- Place the tie around your child’s neck, with the wide end hanging about 8–10 cm lower than the narrow end.
- The label of the tie should be facing inward.
Step 2: Cross the Wide End Over the Narrow End
- Bring the wide end across the narrow end, creating an "X" just below the collar.
Step 3: Wrap the Wide End Under and Around
- Pass the wide end underneath the narrow end, bringing it back to the front on the opposite side.
Step 4: Bring the Wide End Across the Front Again
- Cross it horizontally over the front. You’ll now have a loop at the top.
Step 5: Pull the Wide End Up Through the Neck Loop
- Lift the wide end up and behind the neck loop.
Step 6: Pass It Through the Front Loop
- Slide the wide end down through the front loop you made in Step 4.
Step 7: Tighten and Adjust
- Hold the narrow end and gently pull the knot up toward the collar.
- Straighten and center the knot.
✅ Done! Your child now has a neatly tied tie ready for their big event.
Tips for Teaching Kids to Tie a Tie
- Start with a larger mirror so they can see what they’re doing.
- Practice on a stuffed animal first — it makes it fun before trying on themselves.
- Keep the knot loose at first until they get the hang of tightening it.
- Use a kids’ tie length so it sits properly above the belt line.

Common Mistakes to Avoid
| Mistake | How to Fix It |
| Tie too short | Start with the wide end hanging lower. |
| Knot too loose | Hold narrow end and pull knot gently upward. |
| Crooked knot | Adjust before tightening fully. |
| Wrinkles in tie | Smooth fabric as you go. |
When to Wear a Tie
- Weddings and formal celebrations
- Birthday parties
- School photos or award ceremonies
- Family gatherings
- Special dinners or events
Shop Children’s Ties
Now that you know how to tie a tie, why not practice with a tie your child will love? Our Children’s Tie Collection features premium, easy-to-tie designs in fun patterns and classic colours — perfect for boys aged 4–14.
✨ Browse Kids’ Ties Here


